การกำหนดไอพีให้เครื่องเซิร์ฟเวอร์
(Assigning IP to the server)
ทำได้ 2 วิธีคือ
1. ใช้โปรแกรมบน firefox
2. สั่งด้วยมือ
There are 2 methods
1. Run a program using firefox
2. Using command line
ใช้โปรแกรมบน firefox
Run a program using firefox |
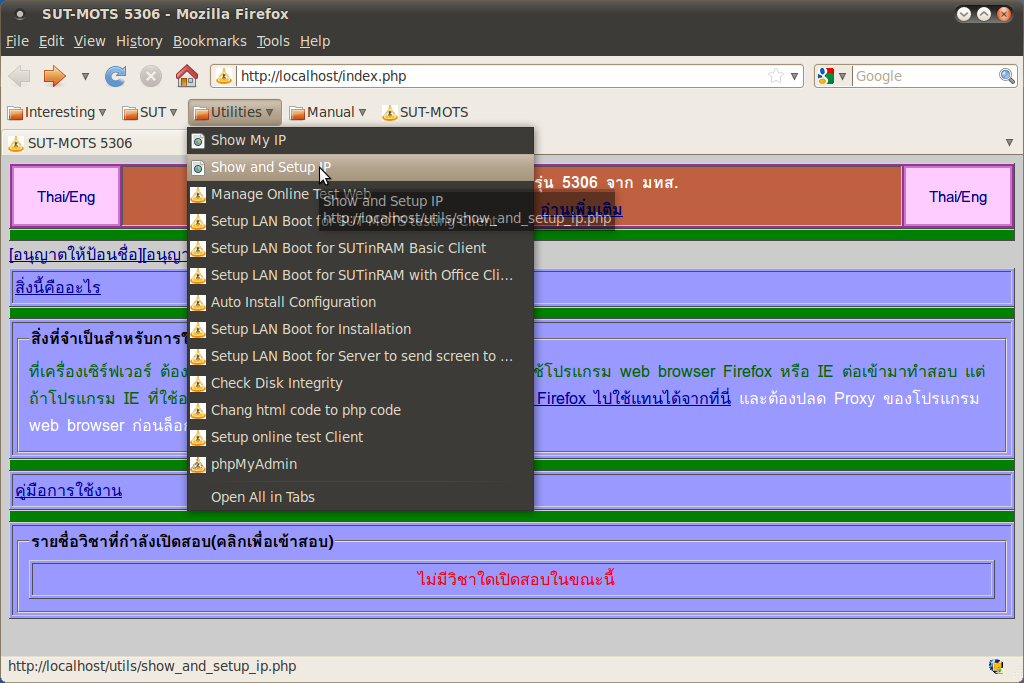
1. เปิด Firefox และเรียกใช้โปรแกรม Show and Setup IP ตามรูป
On Firefox, click on Show and Setup IP as in the figure.
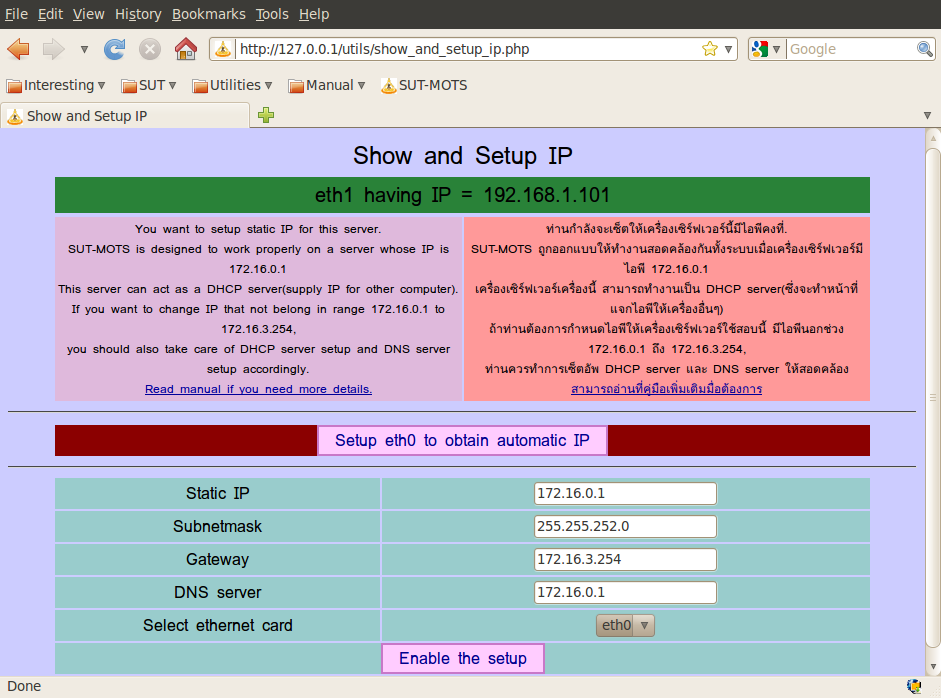
2. จากนั้นจะได้หน้าต่างตามรูปด้านล่าง
ซึ่งท่านสามารถใช้สำหรับแสดงและกำหนดไอพี ทั้งแบบรับอัตโนมัติ และแบบถาวร
ถ้าทำการเซ็ตอัพตามแบบนี้แล้ว
ยังเกิดปัญหา ลองใช้คำสั่ง
sudo /etc/init.d/networking restart
ในเทอร์มินัล และถ้ายังไม่ทำงานอีก
ให้ใช้วิธีสั่งด้วยมือดังจะกล่าวต่อไปซ้ำอีกครั้ง
On the screen, you may set IP as you neeed.
However, if the setup has problem, it does not work properly as you expected, use command line instead.
สั่งด้วยมือ
Using command line |
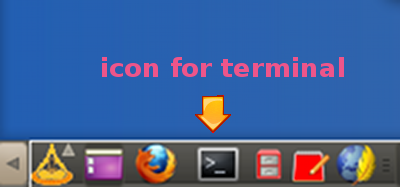
1. เปิดเทอร์มินัล ดูที่ด้านล่างของจอ บนพาเนล ด้านซ้ายมือ
ให้คลิกที่ไอคอนรูปหน้าจอสี่เหลี่ยมสีดำอยู่ข้างๆ รูป ไอคอนของ firefox
Open the terminal by click on Terminal icon on the panel at the bottom of the screen
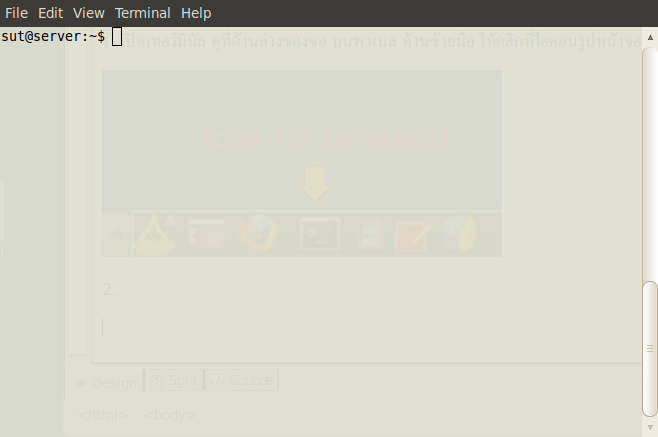
2. จากนั้นจะได้เทอร์มินัลดังรูป
You will see terminal screen show up.
3. สามารถกำหนดไอพี ให้กับเน็ตเวิร์กการ์ดต่างๆ
ด้วยการเขียนคอนฟิกเข้าไปที่ไฟล์ /etc/network/interfaces
ซึ่งสามารถเรียกเปิดไฟล์นี้ด้วยการป้อนคำสั่งต่อไปนี้ที่เทอร์มินัล
Start edit config in /etc/network/interfaces by running below command on the terminal
sudo gedit /etc/network/interfaces
แล้วหน้าต่างใหม่ที่ทำการเปิดไฟล์ /etc/network/interfaces
จะปรากฏขึ้นให้เราทำการแก้ไข (ดูการคอนฟิกต่างๆ
ด้านล่าง) เมื่อแก้ไขเสร็จให้
save และปิดหน้าจอ จากนั้นจึงใช้คำสั่งที่เทอร์มินัล
เพื่อสั่งให้คอนฟิกที่เรากำหนดในไฟล์ /etc/network/interfaces
เกิดผลด้วยการป้อนคำสั่งต่อไปนี้ที่เทอร์มินัล
gedit window will open up and open file /etc/network/interfaces
for you to config (look at ways to config below).
After editing, save the file and close the window. Then you must
activate the new config using these commands on the terminal
sudo /etc/init.d/networking stop
sudo /etc/init.d/networking start
จากนั้นท่านอาจต้องสั่งให้เว็บเซิร์ฟเวอร์ทำงานด้วยคำสั่ง
You may have to start web server with command:
sudo service apache2 start
และสั่งให้ mysql server ทำงานด้วยคำสั่ง
You may have to start mysql server with command:
sudo service mysql start
การคอนฟิกต่างๆ มีดังนี้
Ways to config
-การกำหนดให้ loopback หรือ localhost ทำงาน
-To specify loopback or localhost
auto lo
iface lo inet loopback
-การกำหนดให้ เน็ตเวิร์กการ์ดใบแรก(eth0) รับไอพีอัตโนมัติจาก dhcp server
-To specify first ethernet card(eth0) to obtain IP auomatically from a dhcp server
iface eth0 inet dhcp
auto eth0
-การกำหนดให้ เน็ตเวิร์กการ์ดใบแรก(eth0) มีไอพีคงที่
-To specify first ethernet card(eth0) to have a fixed IP
iface eth0 inet static
address 172.16.0.1
netmask 255.255.252.0
gateway 172.16.3.254
auto eth0
ส่วนการกำหนด dns นั้นท่านต้องใช้คำสั่งในเทอร์มินัล
For dns, use this command:
sudo gedit /etc/resolv.conf
แล้วเพิ่มที่บรรทัดแรกด้วยคำสั่ง
Then add below to the first line
nameserver y.y.y.y
เมื่อ y.y.y.y คือหมายเลขไอพีของ dns
where y.y.y.y is dns server ip
การกำหนดให้เน็ตเวิร์กการ์ดแรกรับไอพีอัตโนมัติในขณะนี้ให้ใช้คำสั่งในเทอร์มินัล
You can also force first ethernet card(eth0) to obtain automatically IP from a dhcp server at that moment by using command:
sudo dhclient eth0
การดูหมายเลขไอพี ใช้คำสั่งในเทอร์มินัล
To display server IP, use command:
ifconfig
หรืออาจกำหนดเป็นส่วนๆ ด้วยคำสั่ง
To be specific, use command:
ifconfig eth0